Clarity 2023 & 2024 Host Upgrade - Detailed Installation Reference
Please be aware: If you have Clarity with Revit Server, the Clarity Host install will need to be done off hours when no one is accessing the models. If you have Clarity with just file based and or 360 projects, then you can do the install at any time.
While the upgrade is not as easy as our “patching” updates, it’s not too hard. These are “setup.exe” installations, and if you follow the instructions below, you are unlikely to run into any issues.
If you don't feel comfortable doing the upgrade yourself and would like to have us assist you with the upgrade process, please contact your sales representative to get some Design Assist hours (perhaps 2 hours).
ANNUAL LICENSES
If you have annual licenses let us know the activation count needs to be reset. Please provide your current authcode which can be found in the IMAGINiT.lic file on the task server in this folder: C:\Program Files\IMAGINiT Technologies\Clarity Central Administrator\License
If you have the Projectwise Module, that will also need to be reset.
Email us that information at Support@rand.com
I have included some video links related to the process.
UPGRADE PROCESS
- Log on to the host as the Clarity account (generally a service account setup for this). Please make sure you have your Authorization code handy.
- Document the identities assigned to the Clarity services and Application Pools in IIS
- Download the most current installer and save it locally on the host machine (VIDEO LINK)
- Extract to the local machine.
- Shut down the following Clarity Services on the host before upgrading. (VIDEO LINK)
- To access the Services tool, type in Services on the Search bar...you might want to pin it to the task bar for future use.


- If you have a task server on the machine, please shut down the Clarity Windows Task Server also.
- Do not run the SQL installer again.
- We have seen issues with overwriting the items below, to avoid that possibility I recommend you do these steps.
- On the desktop create a folder Clarity_Backup
- Create three sub folders named: CA, CW and CR to place our backup files in prior to installing.
- CA=CentralAdministrator, CW=CentralWebservices, CR=CentralReporting

- Create three sub folders named: CA, CW and CR to place our backup files in prior to installing.
- Make a backup copy of all the .config files in the following locations and copy the bin folder content from each and place in the corresponding folders mentioned above. (VIDEO LINK)
- C:\inetpub\wwwroot\CentralAdministrator
- C:\inetpub\wwwroot\CentralWebservices
- C:\inetpub\wwwroot\ClarityReporting
- Make a backup of any custom datasheet templates and reports and place them in the CA folder
- C:\inetpub\wwwroot\CentralAdministrator\Templates\DataSheet
- C:\inetpub\wwwroot\CentralAdministrator\ReportTemplates
- If you have customized the look of the Clarity web portal to change colors, please also backup this file to the CA folder.
- C:\inetpub\wwwroot\CentralAdministrator\Content\Layout.css
- On the desktop create a folder Clarity_Backup
- Delete all the files in the following bin folders on the host or rename the folders so we can create new ones. We saved copies of them already, but the fbin olders should be empty or renamed before installing (VIDEO LINK)
- C:\inetpub\wwwroot\CentralAdministrator\bin
- C:\inetpub\wwwroot\CentralWebservices\bin
- C:\inetpub\wwwroot\ClarityReporting\bin
-
Move the IMAGINiT.lic file out of the license folder (shown below) and verify that the Clarity account has full permission to the C:\Program Files\IMAGINiT Technologies folder before proceeding with the install.
-
C:\Program Files\IMAGINiT Technologies\Clarity Central Administrator\License
-
Install Process
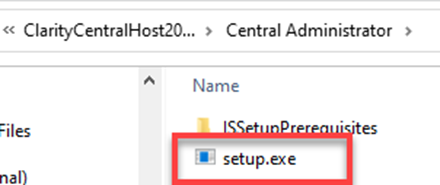
- In the location where you saved the installer, browse to the CentralAdministrator folder (VIDEO LINK)
- Example: E:\Software\Clarity 2023\ClarityCentralHost2023\Central Administrator
- Right click on the setup.exe and run as administrator
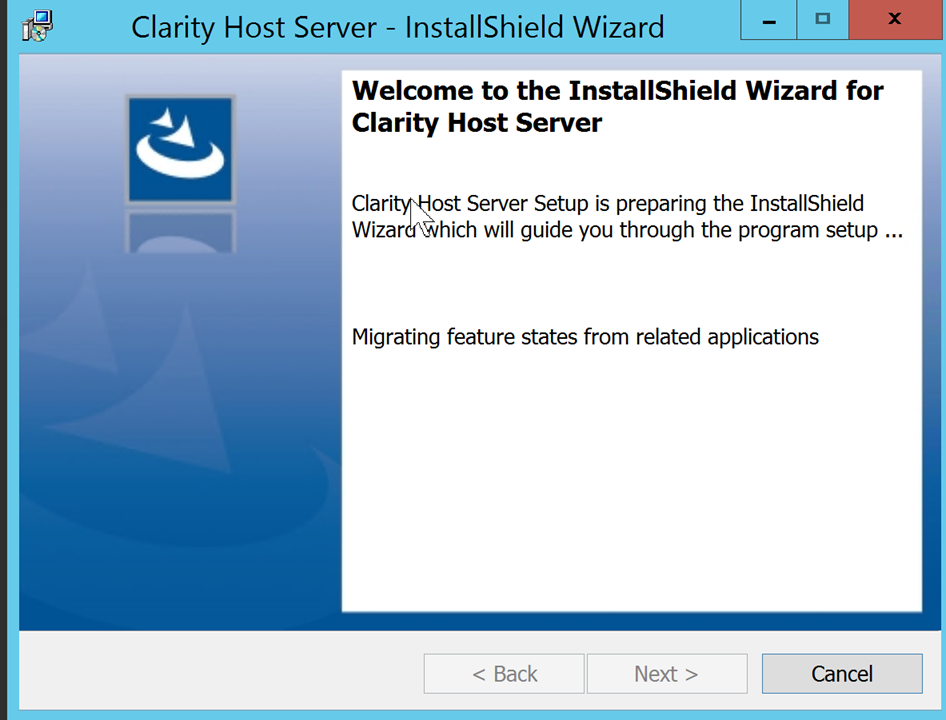
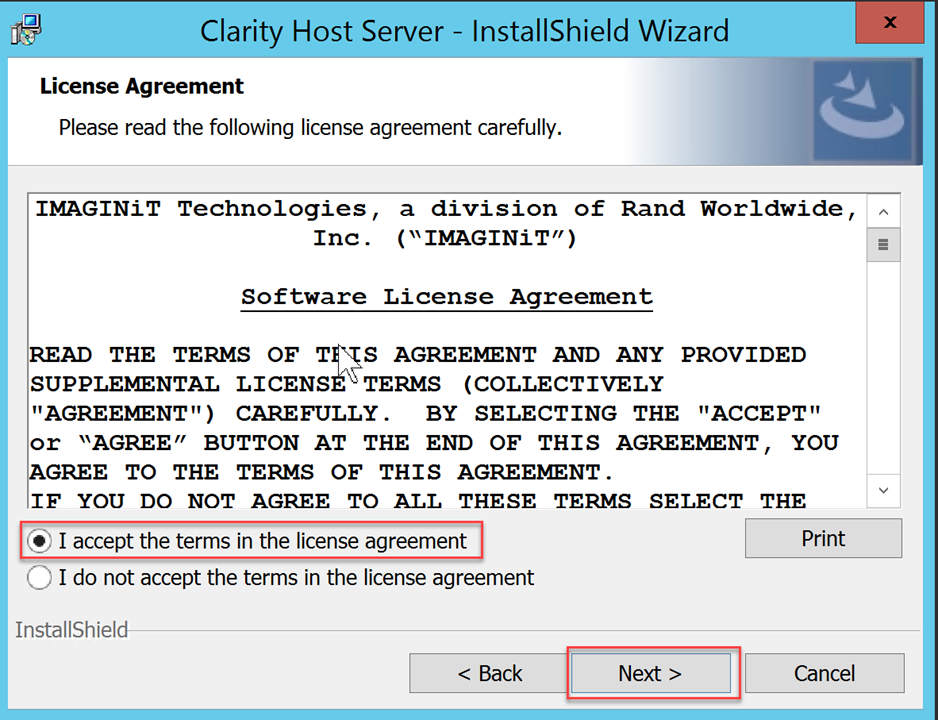
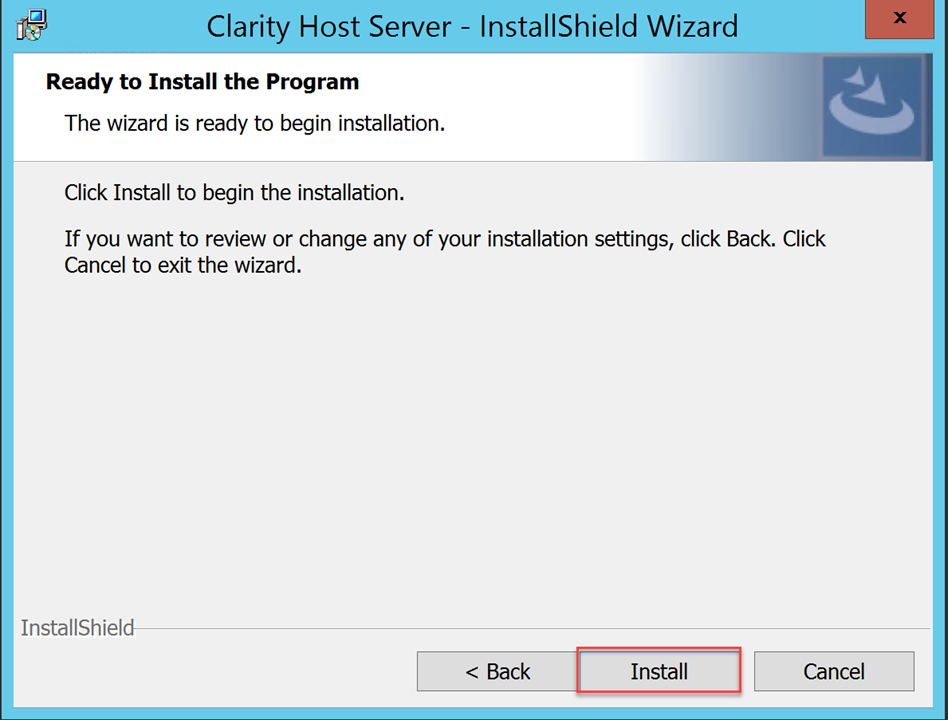
- Follow the instructions in the dialogs to complete the install
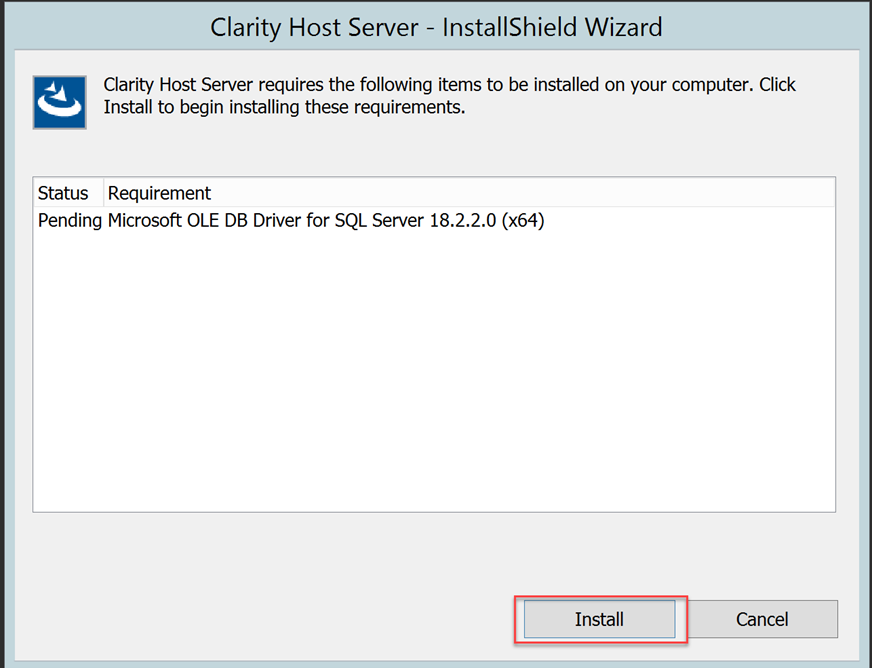
- There may be a prerequisite that we need to install before installing Clarity. Install that so we can proceed with the Clarity install.
-
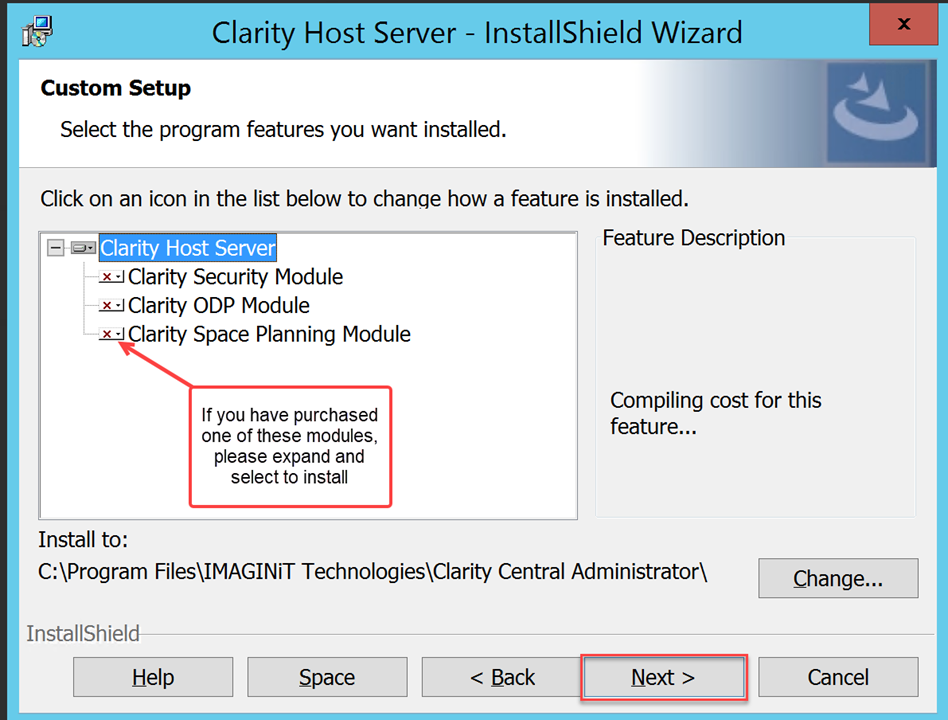
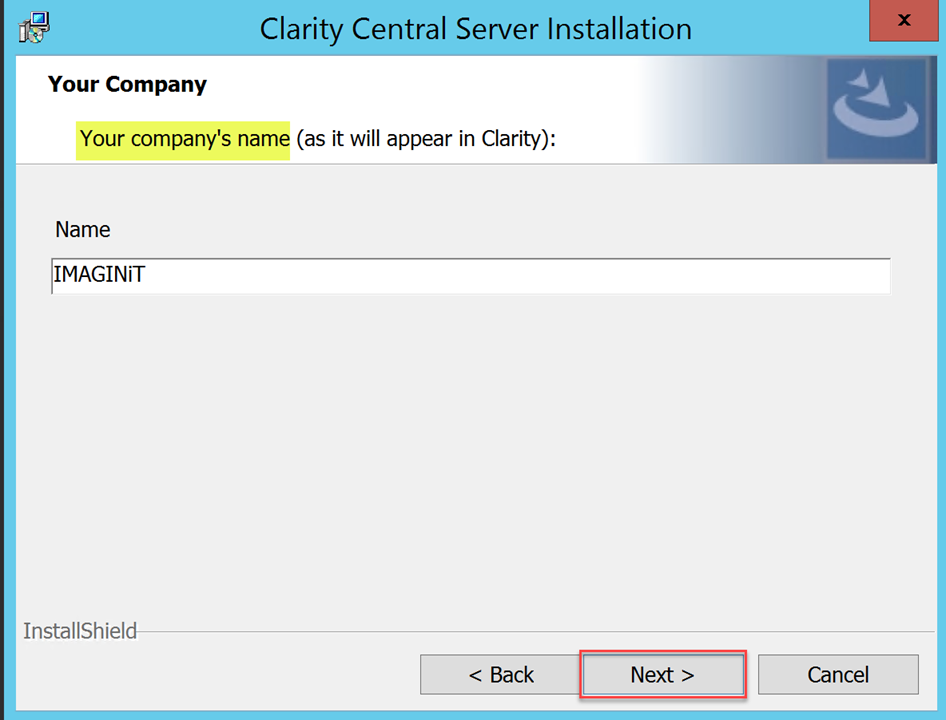
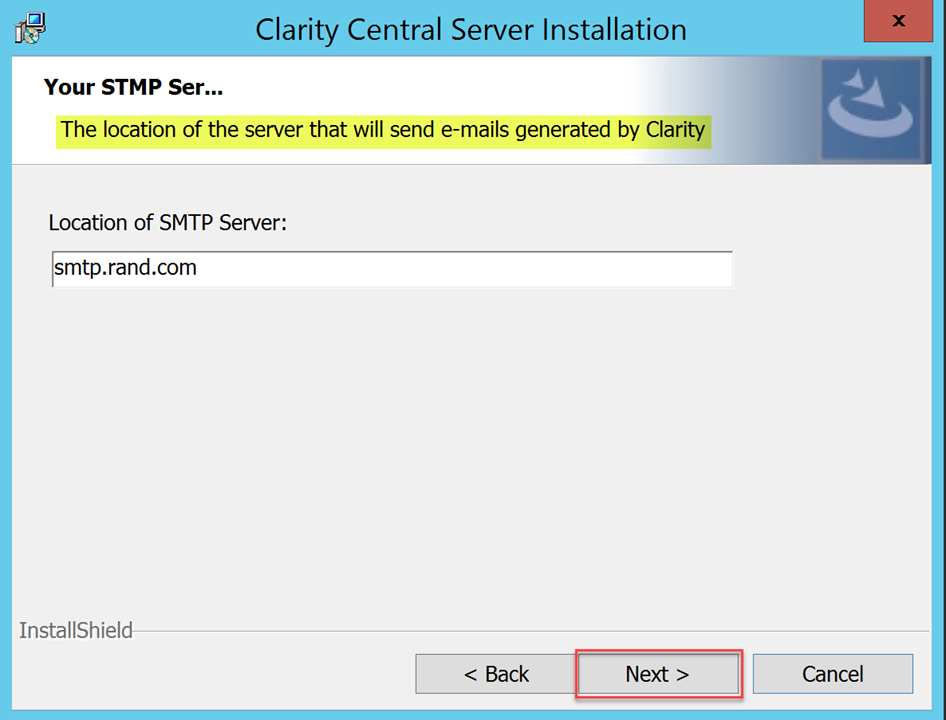
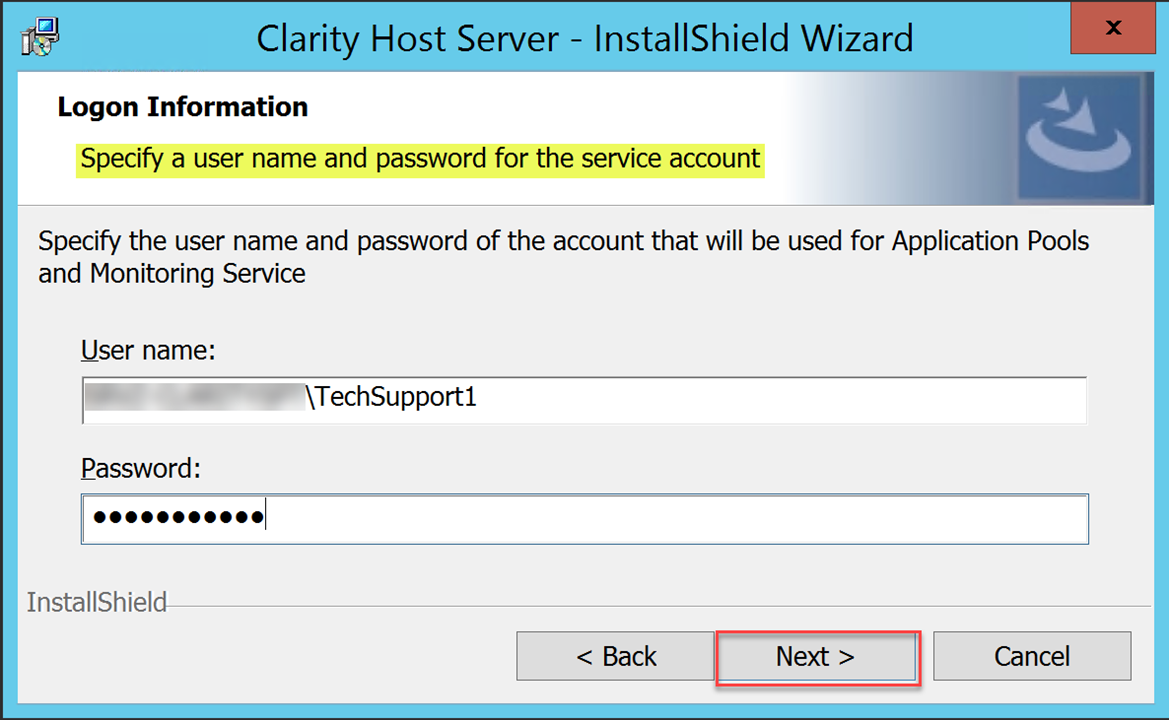
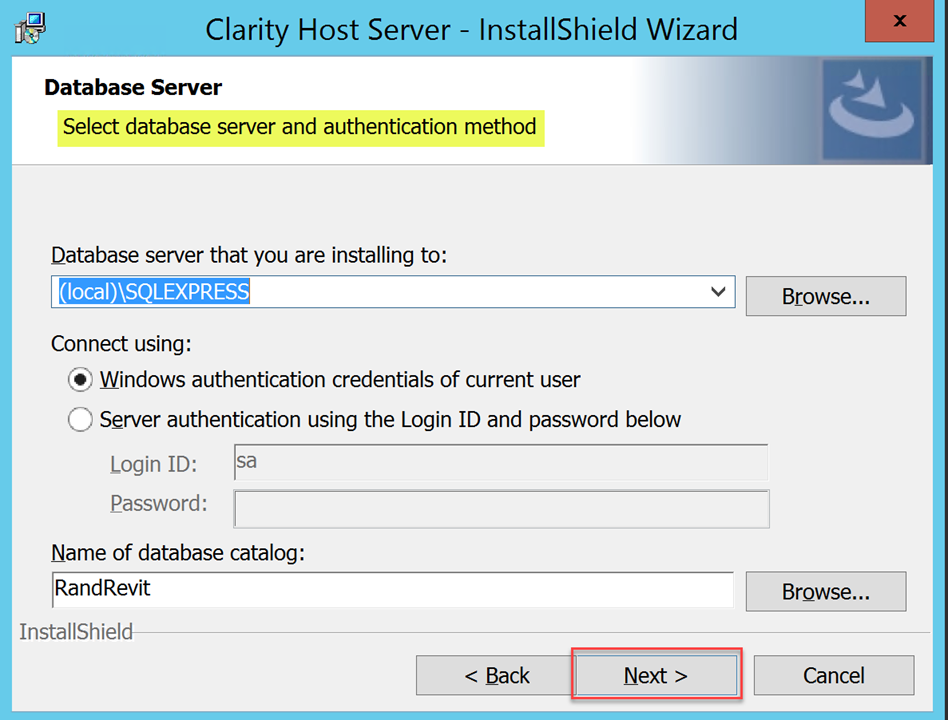
- The default SQL is shown below, if you have your own database that Clarity is hosted on replace the default value with your database
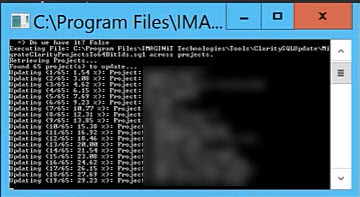
- The install takes a bit longer than normal since we will go through each project in Clarity in the database, you will see a dialog going through each project you have in Clarity that looks like the image below.
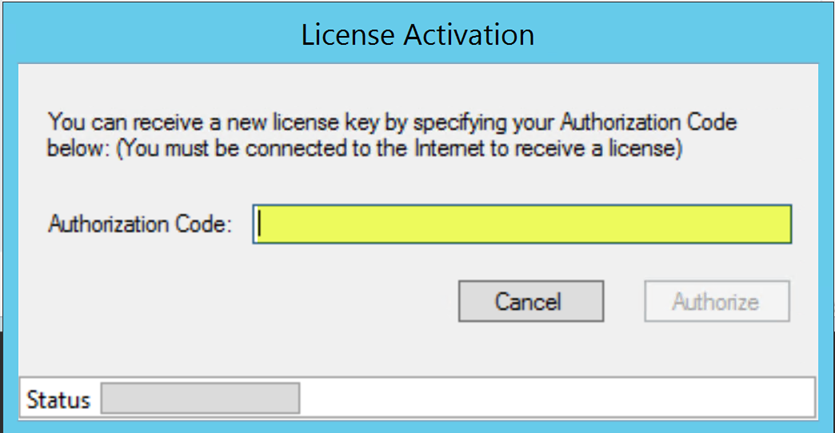
- When the install completes it should bring up the license dialog box, if it doesn’t, go ahead and move on to the next step to uncheck Check for Updates and Finish then reboot.
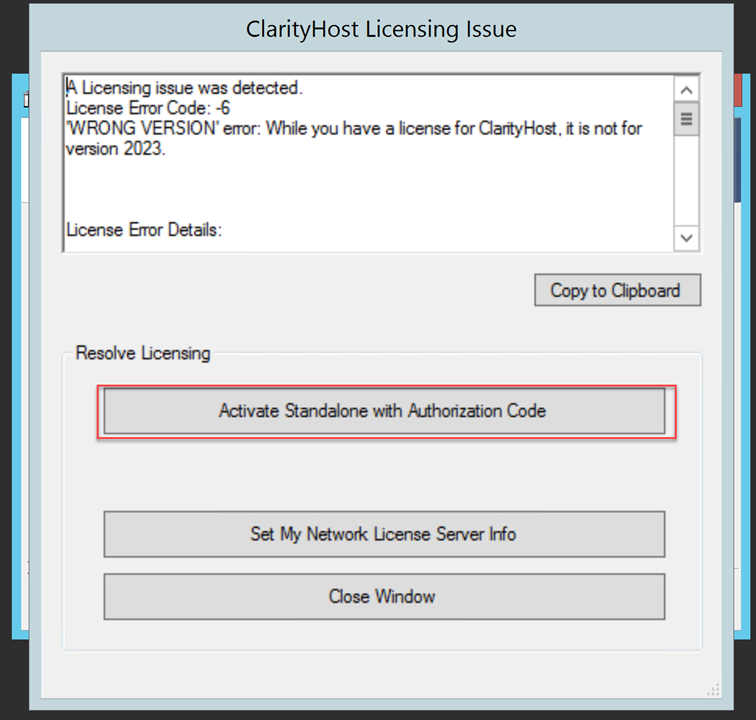
- Enter your Authorization code and Authorize to license the software
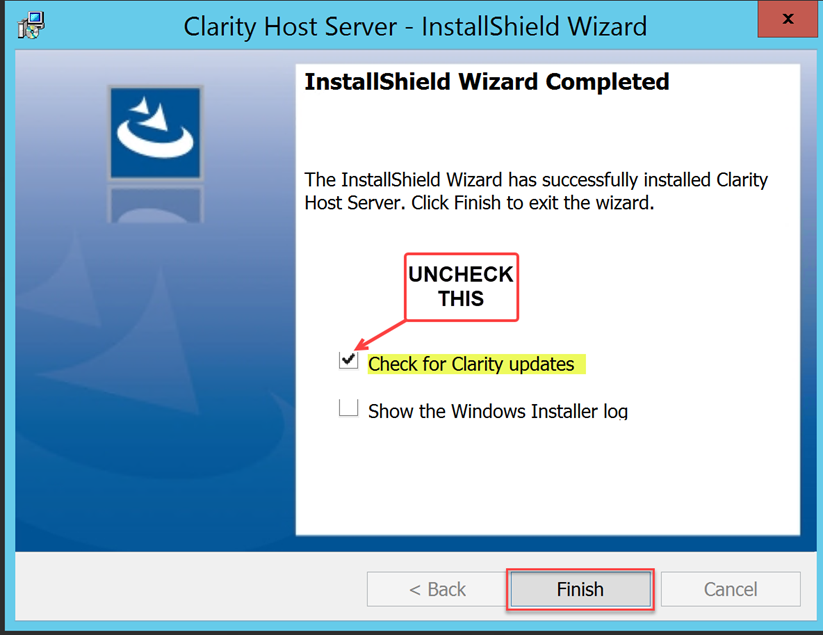
- On the InstallShield Wizard Completed screen, uncheck Check for Updates and Finish
- Reboot the Server
- Log back into the server as the account you installed under (VIDEO LINK)
- Stop the following services again
- From the desktop icon Update Clarity Host, right click and run as administrator
- If you were not able to Authorize the product with the Authcode provided previously, go to the following folder and run the LicenseRequester.exe
- C:\Program Files\IMAGINiT Technologies\Clarity Central Administrator\License
- If you don’t see the Licensing dialog, we will need to replace the dlls in the folder above.
- Download the following dlls to the desktop
- Extract the zip file content, verify that the dlls are not blocked, then copy and overwrite the ones in the folder.
- Right-click on each dll
- Click “Properties” at the bottom of the context menu
- If it shows as blocked, Tick the “Unblock” box in the “General” tab and hit “OK”
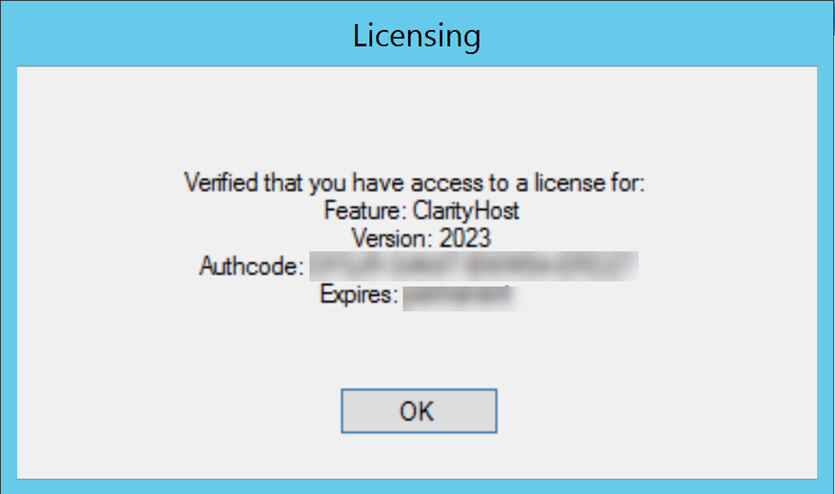
- Rerun the license requester and enter the Authcode you were provided if you don’t already have a 2023 license. If you already have a valid license you will see a dialog like this
- After the host install completes, reset the Application Pool identities to your service account if needed.
- Verify settings for the Clarity Monitoring service and the AD sync
- If you have purchased the Projectwise module, install and license that also
- Stop the following services before running the installer

- Verify you can connect to the Clarity Web Portal on the host
If you receive an error, we will need the content of this folder for diagnostics.
- C:\ProgramData\IMAGINiT Technologies\Clarity\Logs
